


Using a Home Assistant on a Raspberry Pi is among the most affordable and versatile options for creating your own smart home hub. Both the dependable Raspberry Pi 4 and the newer, more powerful Raspberry Pi 5 deliver a compact and energy-efficient base that can handle lights, sensors, cameras, and automations with ease. This guide covers every step—from choosing your hardware to powering up for the first time—so you can set up your system quickly and easily.
Get Your Raspberry Pi
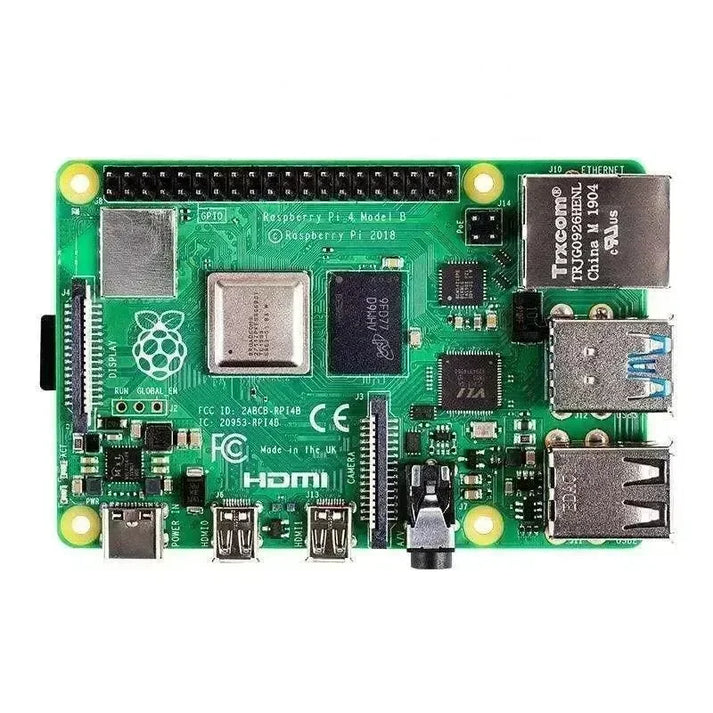

1. Why Raspberry Pi 4 & 5 Are Great for Home Assistant
Both Raspberry Pi 4 and 5 are top picks for Home Assistant, thanks to their small form factor, efficient power usage, and strong performance for most smart home environments.
-
Raspberry Pi 4: Features a quad‑core Cortex‑A72 processor and up to 8GB of RAM.
-
Raspberry Pi 5: Comes with a quad‑core Cortex‑A76 CPU (2.4 GHz), quicker I/O with PCIe support, and up to 8GB RAM. For those seeking higher speeds and long-term reliability, the Pi 5 significantly enhances add-on performance and database speed.
2. Required Hardware
Before you begin, make sure you have the following:
-
Raspberry Pi 4 or 5 (at least 2GB RAM, 4GB or more is better)
-
MicroSD Card – Application Class 2 (A2) or higher, minimum 32GB
-
Official Power Supply – Pi 4: 5V/3A USB‑C, Pi 5: 27W USB‑C PD
-
SD Card Reader (either built-in or USB)
-
Ethernet Cable – Needed for setup; you can change to Wi‑Fi later, but wired is more reliable
-
(Optional) HDMI cable with monitor for troubleshooting
💡 Tip: Don’t use phone chargers or PC USB ports—they might not deliver consistent power.
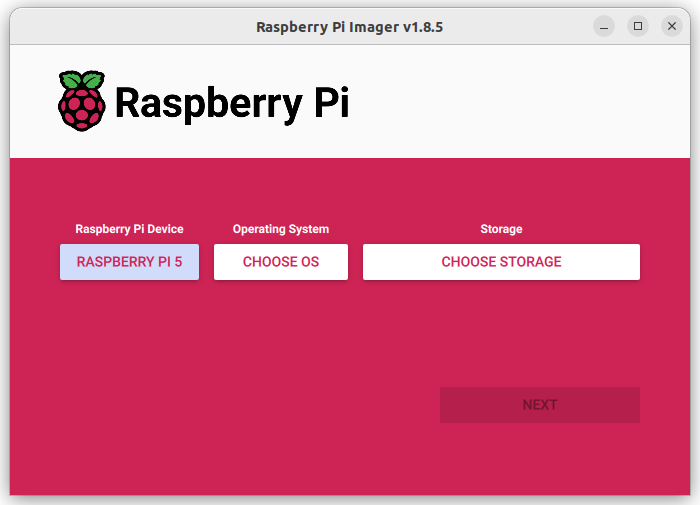
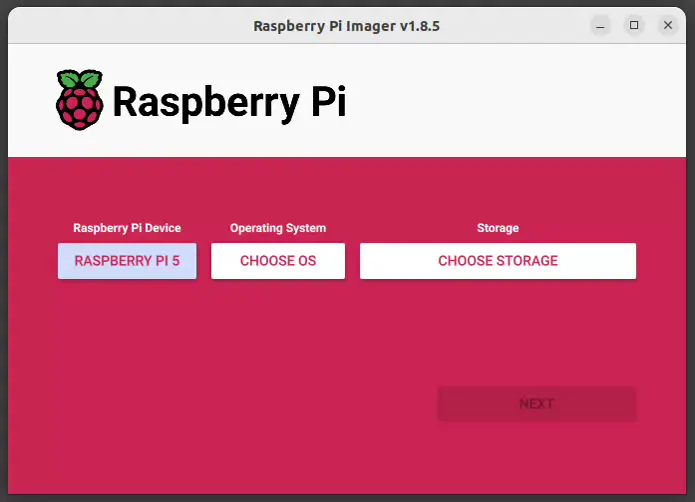
3. Writing the Home Assistant OS Image
The simplest method is to use Raspberry Pi Imager:
-
Download Raspberry Pi Imager and complete the installation.
-
Select your device: Choose either Raspberry Pi 4 or 5.
3. Pick the OS: Go to Other specific‑purpose OS → Home assistants and home automation → Home Assistant. Be sure you select the version that matches your board.
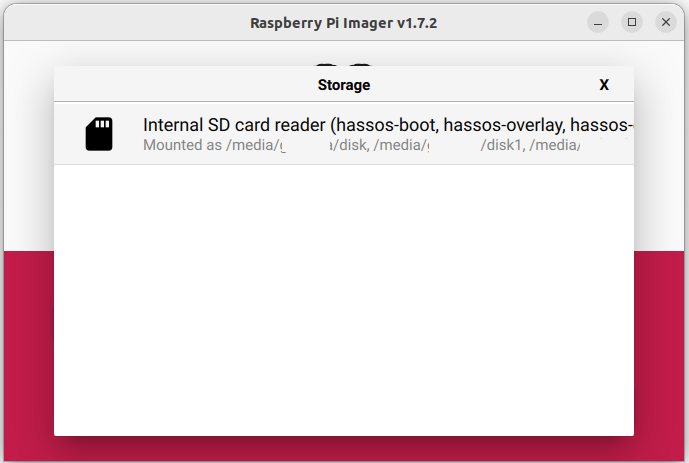
4. Insert your MicroSD card, then choose it as the destination.
5. Click Write and wait for completion.

6. Remove the SD card safely after writing.
If Pi Imager doesn’t work on your computer, you can download the Pi 5 image or Pi 4 image and flash it manually using Balena Etcher.
4. First Boot & Accessing Home Assistant
-
Place the MicroSD card into your Raspberry Pi.
-
Connect your Pi to the router via Ethernet.
-
Plug in the power supply.
-
Allow about one minute (for Pi 4/5) for the device to start up.
-
On your PC, start a web browser and go to:
-
http://homeassistant.local:8123 -
Or use
http://homeassistant:8123orhttp://<Pi_IP_Address>:8123if the first link fails.
-
-
Finish the onboarding process through your browser.
5. Troubleshooting Installation
-
No web interface after 5 minutes: Try flashing the SD card again, or use a different card.
-
Boot problems: Attach an HDMI monitor to see system logs.
-
Unexpected reboots: Confirm your power supply is adequate.
6. Next Steps After Installation
-
Create your initial backup.
-
Add integrations for your smart home devices.
-
You might add Zigbee, Z‑Wave, or Thread with USB adapters.
-
With Pi 5: You can upgrade to SSD storage using PCIe for even better speeds.
7. Summary
With suitable hardware and a straightforward setup, both the Raspberry Pi 4 and 5 are effective choices for running Home Assistant. While the Pi 4 meets most needs, the Pi 5’s greater speed and expansion options make it ideal for larger, future-proof smart home systems.
