


ESPHome is an open-source firmware platform that enables you to convert common microcontrollers — like ESP32, ESP8266, or RP2040 boards — into smart devices you can fully control in your home automation system.
Each ESPHome device is set up using one or more YAML configuration files. These files instruct ESPHome to compile tailored firmware that you can upload to your hardware. Every component included in the configuration — whether it’s a sensor, switch, or light — will appear automatically within Home Assistant.
ESPHome consists of two major parts:
-
The firmware that runs directly on your microcontroller board.
-
The management tool, running on your PC or server (for example, a Raspberry Pi, laptop, or desktop) — in this walkthrough, we’ll use the ESPHome Device Builder add-on for Home Assistant to provide an easy-to-use web interface for creating, editing, and flashing configurations.
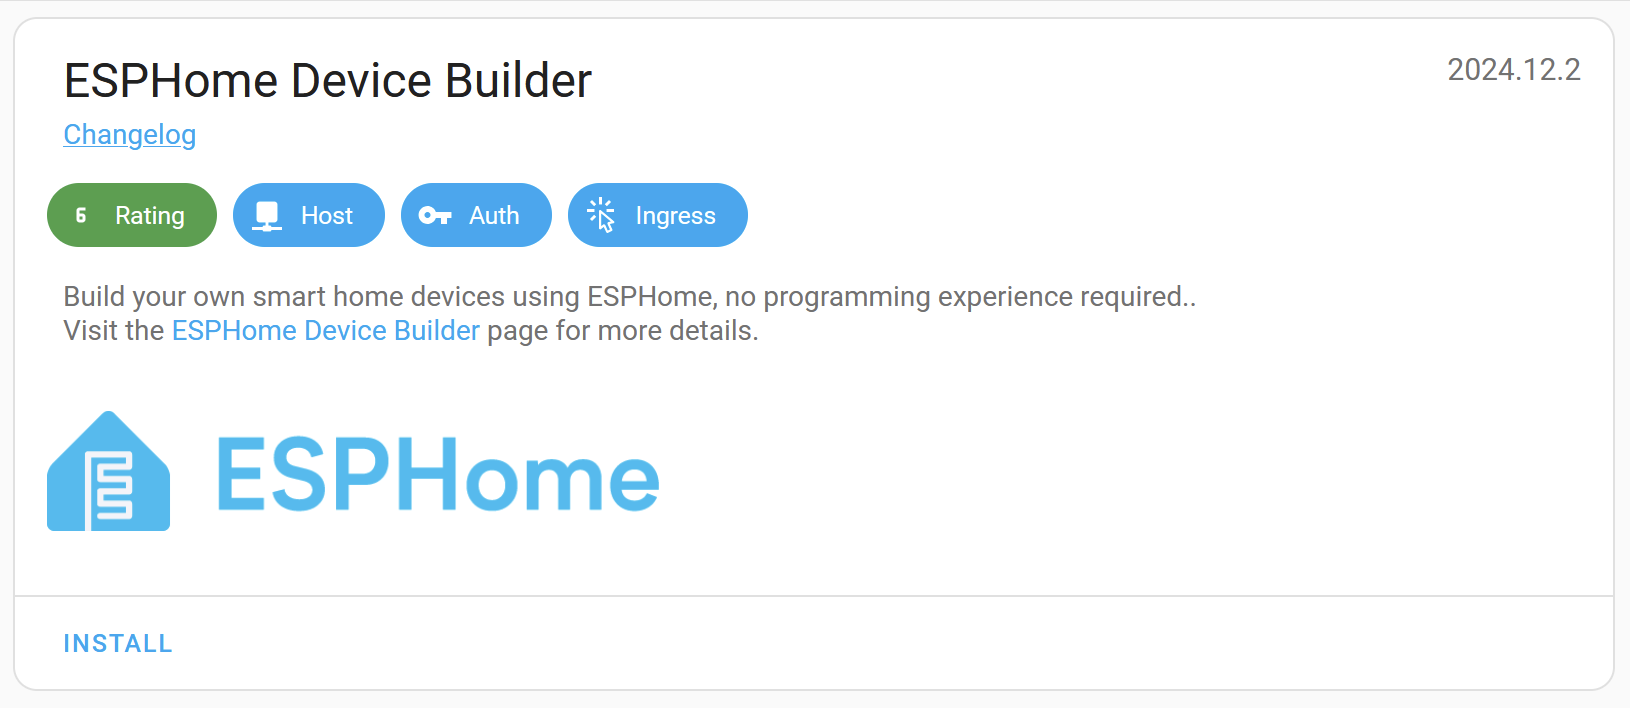
1. Installing the ESPHome Device Builder Add‑on
The simplest way to start is by adding ESPHome as an add-on to Home Assistant.
Steps:
-
Inside Home Assistant, open Settings → Add‑on Store.
-
Type ESPHome in the search bar, then click Install.
-
Let the installation complete (usually a minute or two).
-
Click Start and then Open Web UI to access the Device Builder.
Note: For Home Assistant systems without add-on support, ESPHome Device Builder can also run separately via Docker.
2. Creating Your First Configuration
When you first enter the Web UI, a setup assistant will help you build your initial device configuration.
You'll be prompted to:
-
Specify a device name (using lowercase and hyphens is best practice).
-
Choose the board model you’re using (e.g., ESP32 DevKit v1).
-
Input your Wi-Fi SSID and password so your device connects after flashing.
Tip: The very first flash can feel challenging if you’re new to it. Refer to the Physically Connecting to your Device guide for extra help.
3. Flashing the Firmware for the First Time
With your configuration ready, the next step is to install it onto your device:
-
Attach your board to the Home Assistant machine using a USB cable.
-
Within ESPHome, press Install and pick the USB option.
-
After the install, your device connects to Wi-Fi and communicates with Home Assistant automatically.
4. Exploring the Device Builder Interface

The ESPHome Device Builder dashboard displays every device configuration (“node”) you’ve created. For each entry, you can:
-
Update — when your device’s ESPHome version is behind the installed add-on.
-
Edit — launches the YAML editor for that device.
-
Logs — view messages and logs from the device, either over USB or Wi-Fi.
-
Overflow menu — more options like:
-
Validate — check the YAML configuration for errors.
-
Install — launch the installation dialog.
-
Clean build files — remove build artifacts if you encounter problems compiling.
-
Delete — erase the chosen configuration.
-
Note: Configuration files are saved in
<HOME_ASSISTANT_CONFIG>/esphome/. To access them directly, you may need the SSH add-on and must turn off “Protection mode” — consider the security implications before doing this.
5. Adding Functionality to Your Device
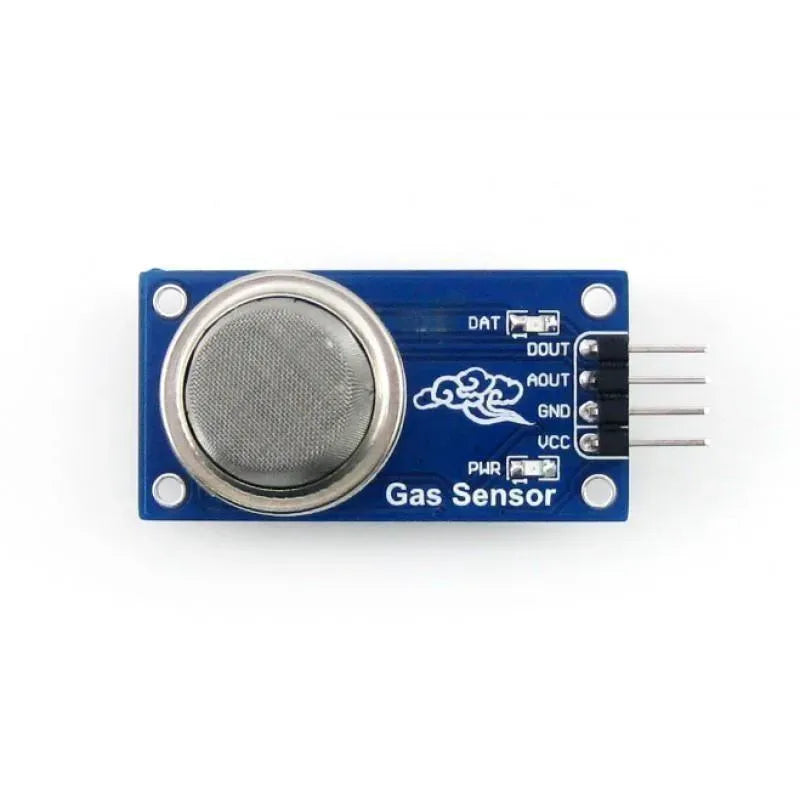
Example: GPIO Switch
Open your device’s YAML configuration and insert:
switch:
  - platform: gpio
    name: "Living Room Dehumidifier"
    pin: GPIO5
This code creates a switch entity in Home Assistant, letting you control whatever is wired to GPIO5—useful for a light, fan, or similar appliance.

Here, we’re setting up a switch named “Living Room Dehumidifier” using pin GPIO5. You can attach any device to this pin, and name it based on your use case—it might be a lamp or a fan.
Example: Binary Sensor
To detect a GPIO pin’s state, such as a door or window sensor, add:
  - platform: gpio
    name: "Living Room Window"
    pin:
      number: GPIO0
      inverted: true
      mode:
        input: true
        pullup: true
When you've made changes, hit Save to update your YAML file.
6. Updating Your Device
Simply saving the YAML file does not update your device. Every time you adjust your configuration:
-
Select Install to recompile the firmware.
-
Flash the new build to your device.
If ESPHome is already loaded on your device, you can update over-the-air (OTA) via Wi-Fi, without needing to reconnect the USB cable.
7. Connecting the Device to Home Assistant
Once your firmware is flashed and the device is on Wi-Fi:
-
Home Assistant will generally discover it automatically (as long as mDNS is supported by your network).
-
If it’s not detected, you can go to Settings → Devices & Services → Add Integration, look for ESPHome, and enter your device’s hostname (for example,
living-room-lamp.local) or its IP address.
Repeat the process above for each ESPHome-powered device you add to your setup.
8. Where to Go Next
🎉 Well done — you’ve finished setting up your first ESPHome project and successfully installed your own firmware! You also learned how to add components via YAML.
Next:
-
Explore the Components Index to see what devices are compatible.
-
Read the FAQ for answers to common questions.
-
If you run into bugs or want new features, submit an issue on the GitHub tracker.

