


Join us for an exciting journey with the StampS3 microcontroller from M5Stack!
What is StampS3?
The StampS3 is a compact IoT controller that utilizes the ESP32-S3FN8 chip, equipped with 8MB of flash memory. With its high-performance processor operating at speeds of up to 240MHz, it provides remarkable computing abilities, making it ideal for embedded control modules in various IoT initiatives.
This impressive microcontroller features a built-in 5V to 3.3V converter for steady power provision, an RGB status LED, and a programmable button. Additionally, it offers 23 GPIOs for versatile expansion, accessible through 1.27mm/2.54mm lead spacing, allowing for flexible configurations.
Compact, powerful, and efficient, the StampS3 is perfectly suited for IoT applications that demand reliable embedded controllers. Its expandable GPIO options make it an excellent choice for a range of smart projects.

Design
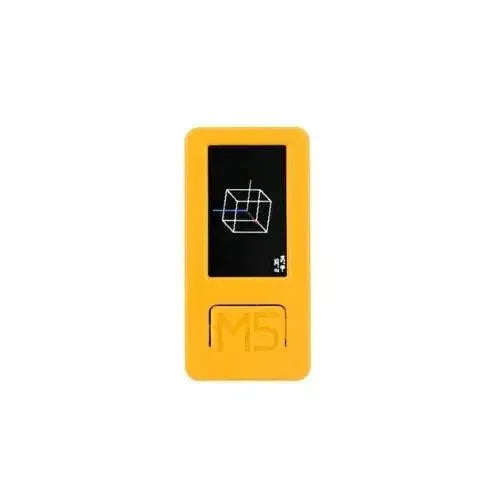
Front View
This minuscule microcontroller is the tiniest I’ve encountered—it’s about the size of a Ctrl key! Powered by the ESP32-S3FN8 chip, it is compatible with M5 UIFlow and graphical programming, making it an excellent choice for innovative IoT projects.

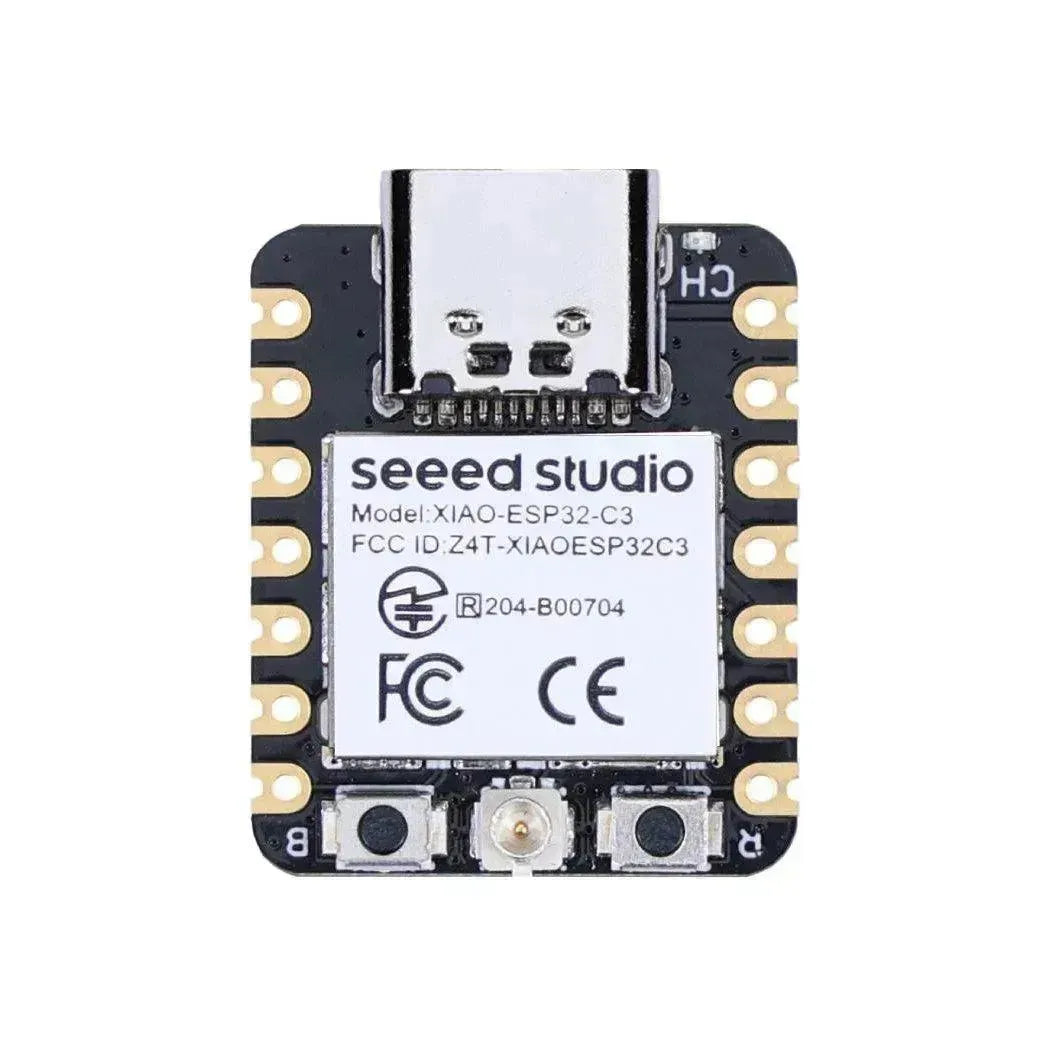
Back View
The IO interface spacing accommodates both 2.54mm and 1.27mm, providing versatility for various applications. It includes 23 IO interfaces (G0-G46) for expansion. The entire development board is designed with immersion gold plating for enhanced durability and dependable performance.

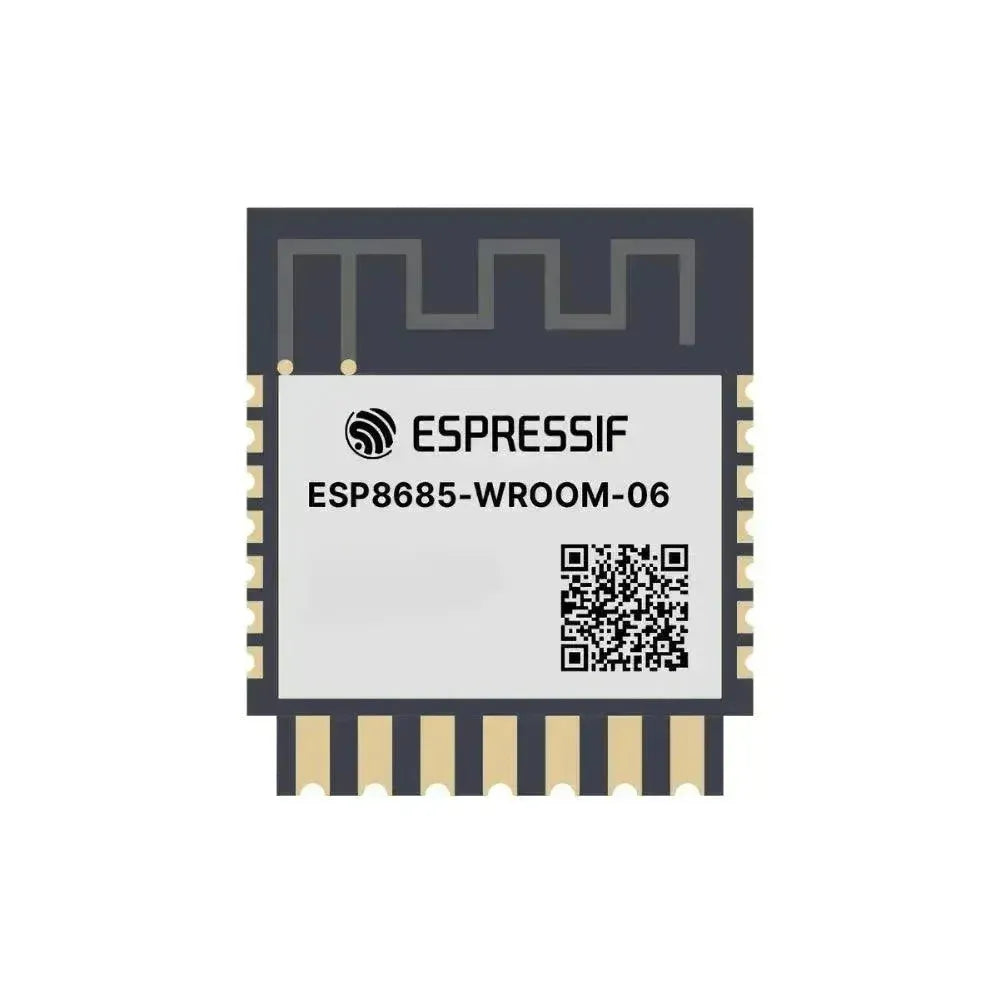
Inside View
The circuit board is compact and thoughtfully designed, utilizing every bit of space efficiently. Of particular note is the LED located at the upper-right corner. I can't wait to see it lit up!

How to Use
M5Burnner
To get started, connect the StampS3 to your computer, launch M5Burner, and select StampS3. Download UIFlow 2.0, enter your WiFi SSID and password, and initiate the burning process.

UIFlow 2.0
Once the device is connected to the internet, we can upload code to the StampS3 over Wi-Fi.

Graphical Programming
To initialize the RGB hardware, set the IO to 21, adjust the number to 1, and select the type to SK6812. Then, configure RGB21 with three colors.

Just look at this!

I really love this board! I'm excited to create some projects with it—stay tuned!


